Content
- Abstract
- Assignment 01 – Environmental Portrait
- Assignment 02 – Building at Twilight
- Assignment 03 – The Shop
- Assignment 04 – Portrait
- School Day 01 – Location Photography
- School Day 02 – Architecture
- School Day 03 – Flash
- School Day 04 – Flash II
- School Day 05 – Review
- School Day 06 – Studio Lighting
- School Day 07 – Review II
- School Day 08 – Theatre
- School Day 09 – Review III and FOAM
- School Day 10 – Assessment
Abstract
This is a selection of the results generated during “Module 03 – Location Photography”.
Module Content:
Location Photography (lighting, flash basics, using the environment,
etc.)
Module Teacher: Jan Scheerder
Assignment 01 – Environmental Portrait
Description
Create an environemtal family (or self) portrait. The portrait should be taken inside, at home.
Plan
Take an image of Maartje and myself (reading?), including the bookcase and other typical things in the image.Results
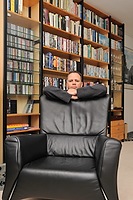 Self Portrait |
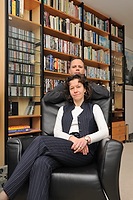 Family Portait |
Assignment 02 – Building at Twilight
Description
Photos of boring buildings can be made more interesting when taken at twilight with the building lights turned on.
Plan
A few ideas:- A2 Shell Station
- Breukelerwaard Industrial Area
- Breukelen Apartment Buildings…
Results
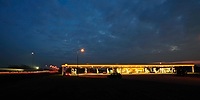 Shell Station Ruwiel |
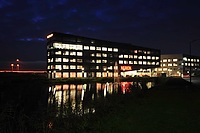 Office building of Reeleezee and Xerox |
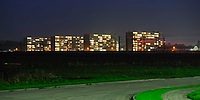 Breukelen Apartment Buildings |
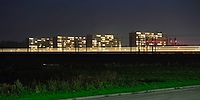 Breukelen Apartment Buildings |
Assignment 03 – The Shop
Description
Take a series of shots of a local small business (e.g., a shop). This business should not be part of a chain.
Take at least the following three types of shots:
- Portrait of e.g, the owner.
- Overview.
- Detail.
Plan
Two alternatives:
- The local cheese farm and country produce shop.
- The local DIY shop.
I decided to opt for the cheese farm and shop.
Results
With the input of the class, two possible series of photos emerged from the original 12 shots I had selected.
| Base Selection | |
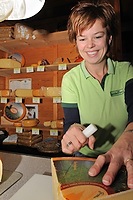 Monique Koppers cutting cheese |
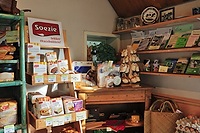 Different products on display |
| Additional Selection (alternative 1 – Production Phases) | ||
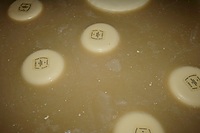 Cheeses floating in a salt water bath |
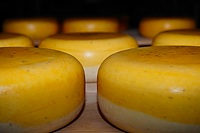 Fresh cheese after a first coating |
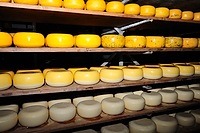 Small cheese wheels at different stages |
| Additional Selection (alternative 2 – Cheese) | ||
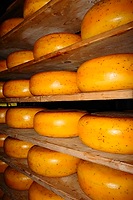 Big cheese wheels ageing |
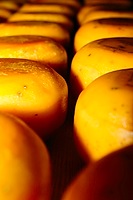 Small cheese wheels ageing |
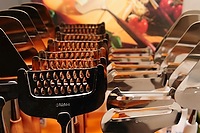 Assortment of cheese slicers and graters |
Assignment 04 – Portrait
Description
Take two portrait shots one with the dominant lighting on the “long” side, the other with the dominant lighting on the “short” side.
Plan
Use flash mounted on a monopod to flexibly position it. Try out different flash positions for different results.Results
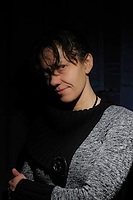 Maartje – Light from the right side Gloomy shot with high contrast between lit and unlit side of the face. Flash mounted on monopod for flexible positioning. |
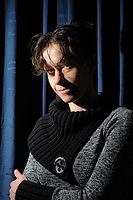 Maartje – Light from the left side Light from the left and closer to the face, resulting in brighter and still high contrast image. Flash mounted on monopod for flexible positioning. |
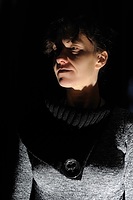 Maartje – Light from below Not really part of the assignment, but still included as it is a good indication of the possibilities of using light from different angles. Flash mounted on monopod for flexible positioning. |
School Day 01 – Location Photography
Description
Take a portrait shot of a class mate where the environment plays a role.
Plan
Go outside in a group and take portrait shots in their environment.
Results
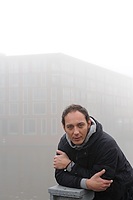 Daniël Goldman |
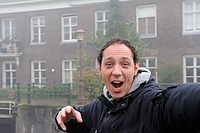 Daniël Goldman |
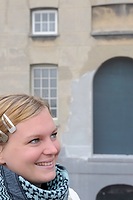 Mieke de Wit in front of the National Maritime Museum Amsterdam |
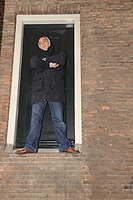 Daniël Goldman guarding the door |
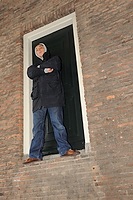 Daniël Goldman guarding the door |
School Day 02 – Architecture
Description
Take pictures of the architecture of the Public Library: Outside Overview, Outside Detail, Inside.
Plan
As the Public Library building is of beatiful architecture, it should not be hard to take interesting images.
Results
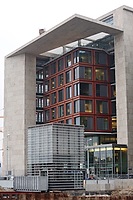 Public Library |
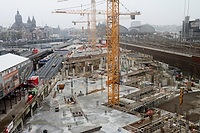 View on the Oosterdok building activities, Schreierstoren, Church of Saint Nicholas, and the Central Station |
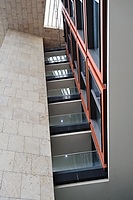 Architecture detail of the Public Library |
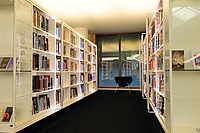 English Section |
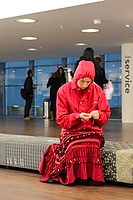 Lady in Red |
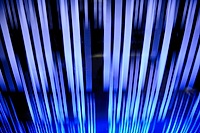 Blue |
School Day 03 – Flash
Description
Practice with flash:
- Difference between direct and bounced flash.
- How to render a background dark with flash.
Plan
Just do it.
Results
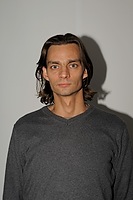 Peter Brandsma Direct Flash: harsh shadows |
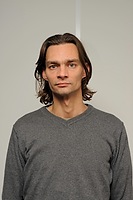 Peter Brandsma Bounced Flash: softer/no shadows |
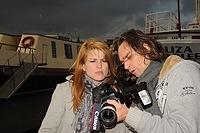 Christine Heij and Peter Brandsma Flash used to darken sky during daytime |
School Day 04 – Flash II
Description
Practice with flash: Use flash in a “dark” environment, exposing both subject and background correctly.
Plan
Manually set the aperture and shutter speed, so that the background is exposed correctly, use flash to “freeze” the subject. Use rear curtain flash if necessary to have the subject frozen at the right moment.
Results
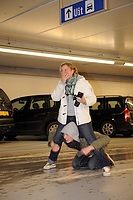 Tom Sanner and Mieke de Wit having some fun posing Long exposure to expose the background correctly, Flash to expose the foreground correctly as well as “freeze” it. |
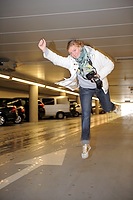 Mieke de Wit jumping to illustrate the effect of rear curtain flash Long exposure, rear curtain flash to capture the movement “correctly”. |
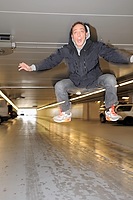 Daniël Goldman hanging in the air Another long exosure/flash example. |
School Day 05 – Review
Review session of the “Shop” assignment.
School Day 06 – Studio Lighting
Description
Studio lighting practice.
Plan
Take shots under different lighting conditions using only one softbox as the sole light source (darkened studio).
Results
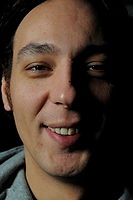 Daniël Goldman Light from the left, close-up of face, straight on. |
School Day 07 – Review II
Review session of the “Portrait” assignment.
A video about Annie Leibovitz's work and methods was shown too. Boy, what a lot of effort and money required for a single shot. Begs the question if this is still photography…
School Day 08 – Theatre
Description
Having the Leidse Schouwburg available for a few hours, use this enviroment to take pictures.
Plan
As the architecture of the (inside of) the theater is very nice, I plan to take pictures of that, focussing especially on the nice lines and forms found there. Some examples of what I am looking for can be found here:
As some of my classmates will bring models for shooting, time and inspiration permitting, I might also take a few portarit shots. Here I'm thinking of elegantly dressed people as spectator or otherwise involved with the theatre (e.g, sitting in their seats, walking on the red pluche, etc.).
Results
As it turned-out, I had way too little time to get all the architectural shots I would have liked to take, so no portrait shots either… Again (sigh), I had a hard time making a series of photos from the 18 “good” images I had selected from the shoot. With the help of our teacher Jan and the rest of the class, two series evolved.
| Seats A series showing the seats of the theatre from different viewpoints. Going from close-up and abstract to completely “zoomed-out” and in-your-face. Of the two series, this is the one closest to what I had originally envisioned. |
||
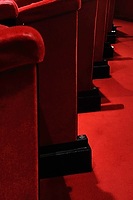 Angles |
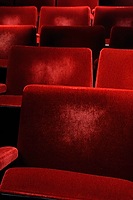 Seats |
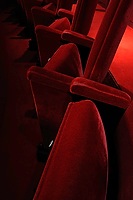 Upright |
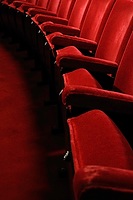 Curved |
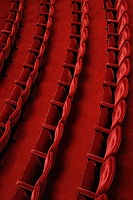 Rows and Rows of Seats |
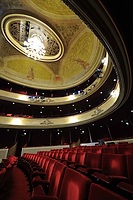 Theatre Interior |
| The Theatre This series shows different aspects of the theatre. Common between the images is the viewpoint; different from the ordinary. |
||
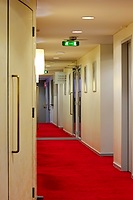 Endless |
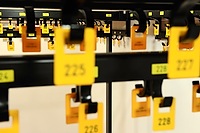 Hooks |
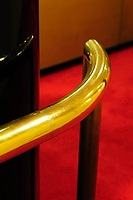 Bannister |
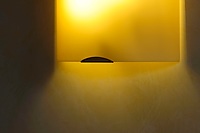 Light |
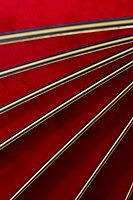 Stairs |
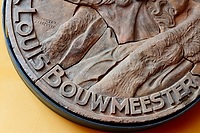 Louis Bouwmeester |
School Day 09 – Review III and FOAM
Review of the results of our shoot at the “Leidse Shouwburg”.
The afternoon was spent in photography museum FOAM where the work of four photographers (Helen Levitt, Vivianne Sassen, Kees Scherer, and Erik van der Weijde) was shown, all of which was (in a way) relevant to this module,
School Day 10 – Assessment
My Own Learnings this Module
- Fun with flash.
- Some insight in what will be expected from you when working with clients.
- More practise with shooting assignments.
- Creating series out of a bunch of shots (still more practise required here though).
Input
The following material was used as the basis of the Assessment:
- The results of all assignments
- My own learnings.
Results
- Study Points: 6.
- Advise: None.
- Additional work required: None.


